Even before our first lesson, we had homework to do, which was to wash all the cloth and iron them. We need to pre-wash the cloth before cutting and sewing them. This is to prevent them from getting out of shape after piecing them together.

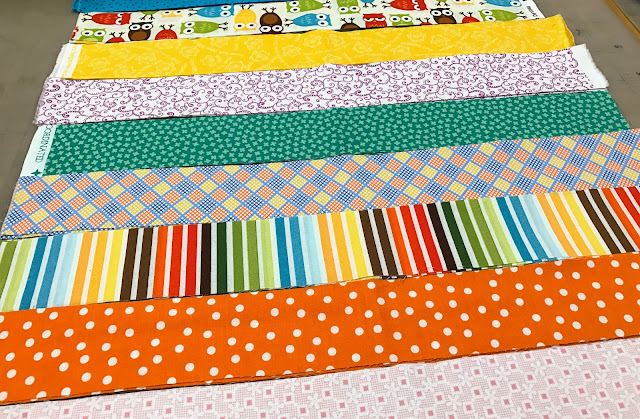
For the design we plan to make, we need 1 yard of white cotton cloth and 9 pieces of fat/long quarters (cotton).
Lesson 1 - Cutting
We were taught how to measure and cut the clothes into stripes. And that's all we managed to achieve after 2.5 hours (super not efficient at all).
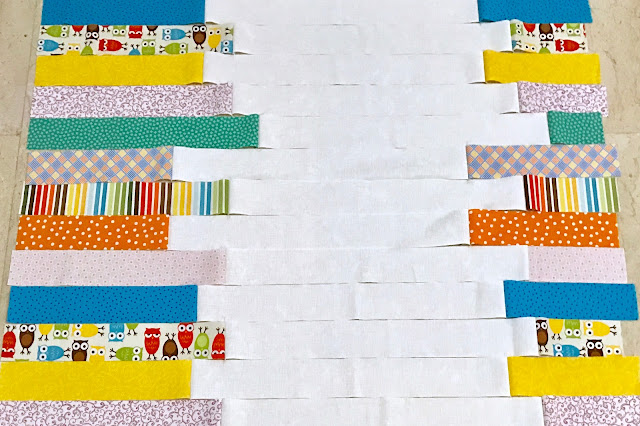
Lessons 2 & 3 - Patchwork
Next, we sew together the stripes of different lengths. The short ends are joined together first, forming the long horizontal stripes, which should (theoretically) be of the same length. But as you can see from the picture below, they are not. Thus, when we pin the long sides before sewing, we need to pin the most right and most left ends first, then work towards the center. And when we sew the long stripes together, we should sew rows 1 and 2 together (let's call this piece A), then sew rows 3 and 4 (B), then rows 5 and 6 (C), then rows 7 and 8 (D) and so on until we reach the last row at the bottom. After that, we sew pieces A and B together, and pieces C and D together, etc. We do this until all the stripes are sewn together.
Homework: Trace the applique outline on the freezer paper and prepare the cloth for the applique (see picture below). Our applique design have stripes of different fabric prints.

Lesson 4 - Applique
Iron the freezer paper cut-out onto the back of the applique cloth. Cut the cloth along the edge of the freezer paper, leaving a small allowance. Fold and iron down the cloth edges, then use big stitches to keep them in position. Pin and sew the applique to the main patchwork. As you can see from the rightmost photo, we were told to start sewing from the curve of the applique. When we are almost back at the start point, we remove the big stitches (that were meant to hold the edges folded in). Then we remove the freezer paper through the small opening. Finally, we close up the opening, which in our case is between the two pins at the right-bottom of the balloon. It's easier to sew up the opening along this straight part of the balloon. The applique would easily go out of shape if we try to sew the last part along the curve. We repeat the same steps for the brown basket.


Lesson 5 - Basting
The ropes of the hot air balloons were sewn with two strands of cross-stitch threads. As for the technique, I've already forgotten how it should be done already. Once all the appliques are attached, we can go on to do basting. We lay the patchwork (facing up) on top of the minky (facing down) and we use safety pins to keep the two layers in place.
Lesson 6 - Quilting
We did machine quilting by sewing along the ditch where fabric pieces are joined (only the ditch on the two sides, not those between the white pieces). We also did quilting along the outline of the applique and some clouds on the remaining white spaces.
Lesson 7 - Binding
The very last step in this project is to make the bias tape and bind it on the perimeter of the quilt. With the quilt lay open on the table, ensuring that the corners are right angle, we cut off the extra cloth and minky on the sides. My bias tape was made from 1/2 yard of grey cloth, but again, I totally cannot recall the steps on how to do it now. But there are plenty of tutorials and videos to re-learn if I want to do another one. The bias tape is machine sewn on the front of the quilt, while hand-sewn on the back.

My final product!
This is just a sketchy overview of "how to make a quilt". There are definitely many details and tips that I've missed out here. From our first lesson to my very last stitch, I took 2.5 months to complete this project. Quilting is not just time-consuming, the tools are quite costly too. Definitely going to work on a simpler quilting project next time!