This is how I make my 2R photo frames (6.6cm by 11.5cm):
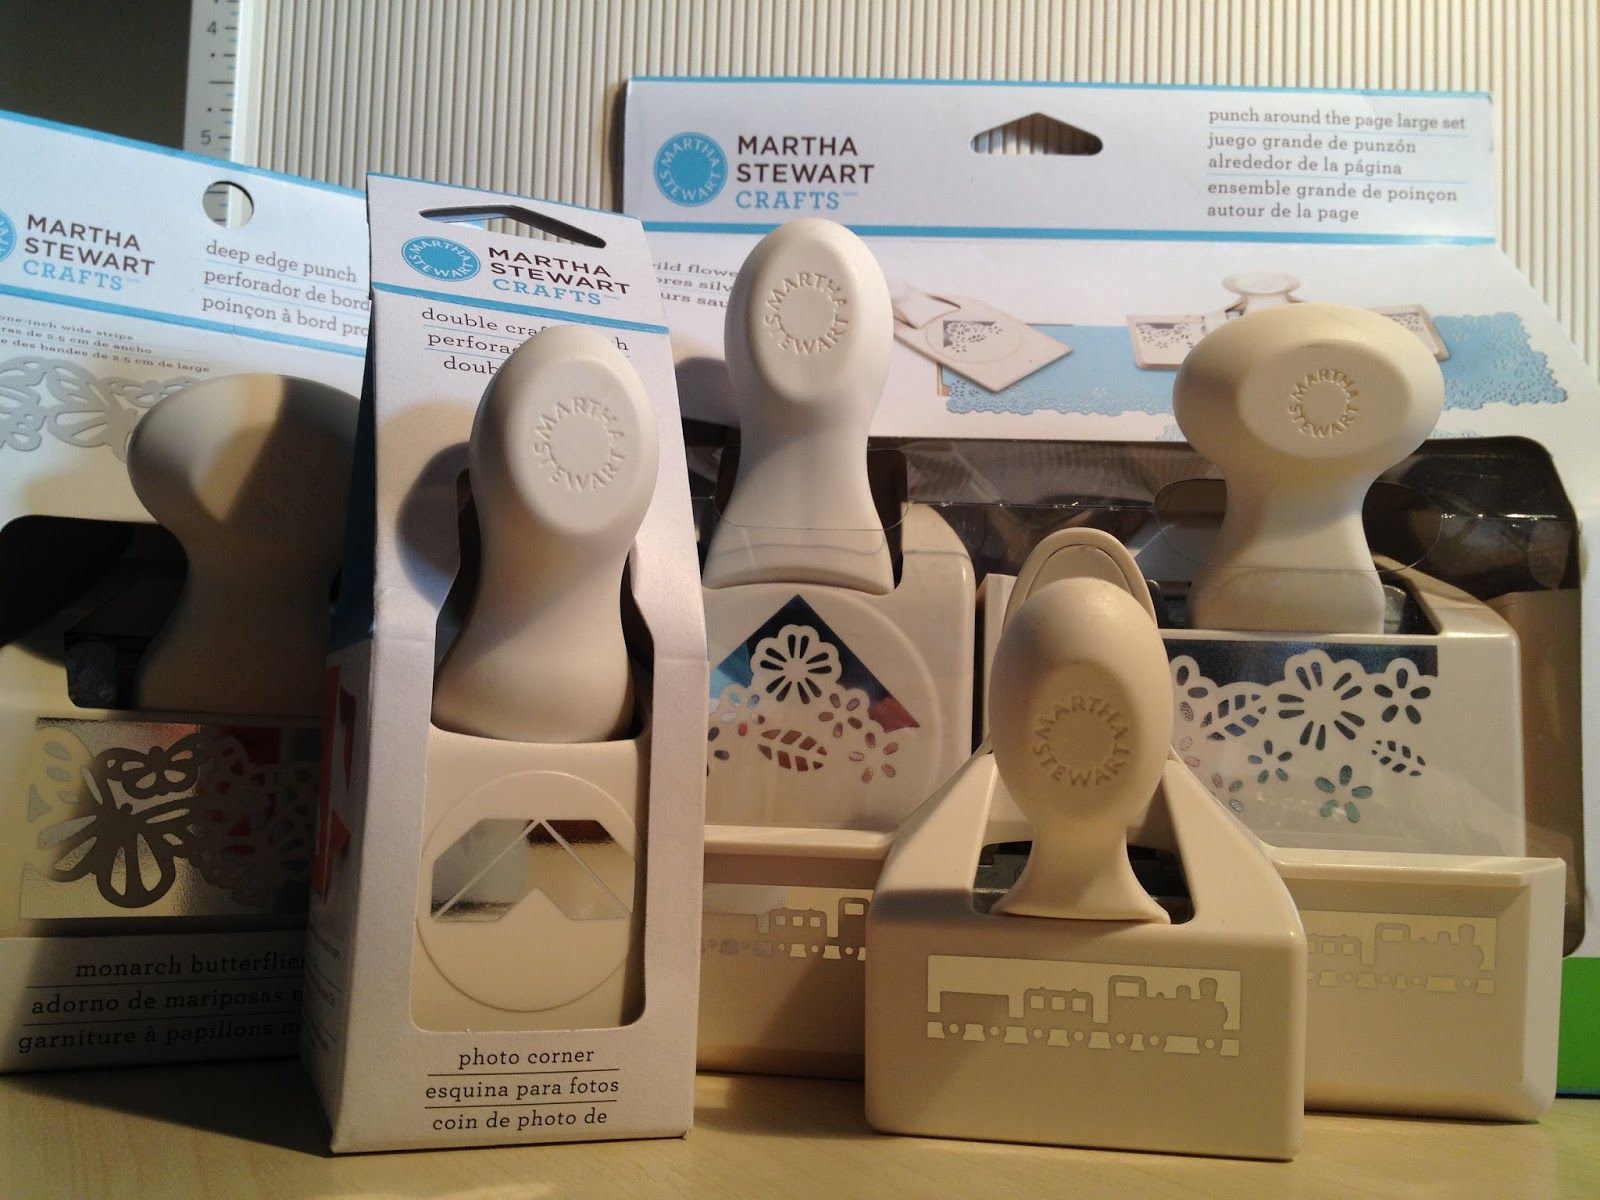
 | Using the Marvy Uchida Clever Lever Extra Giga Craft Punch (product code: LVXGCP_64 for the rectangle punch), make a punch off-center, as shown in the picture. I've used a 4 1/2" by 6 1/2" (11.5cm by 16.5cm) paper. The punch out is 4.4cm by 7.6cm. |
 | Using the Martha Stewart Crafts Scoreboard, score two lines at 5/8" and at 3 1/4" as shown in the picture. |
 | Cut off the 1.5cm of excess length. |

| Fold the paper along the scored lines and stick the corners together as shown in the picture. I've chosen to use the double-sided tape, which is easier and cleaner. Leave one side untaped so that the photo can be slided in through this opening. |
 | I used the Martha Stewart Crafts Trains Edger Punch and made a paper ribbon. After punching along the edge of a paper, cut off at 1.5cm at the base of the punched out trains to form the ribbon. |
 | The paper ribbon has to be longer than the width of the frame, so that the ribbon can be folded to the back of the frame. I used small pieces of double-sided tape to hold the ribbon in place, at the back of the frame. Alternative, uhu glue works too. |
 | Finally, add more embellishment according to your likings. Insert a 2R photo from the opening at the top and it's done! |
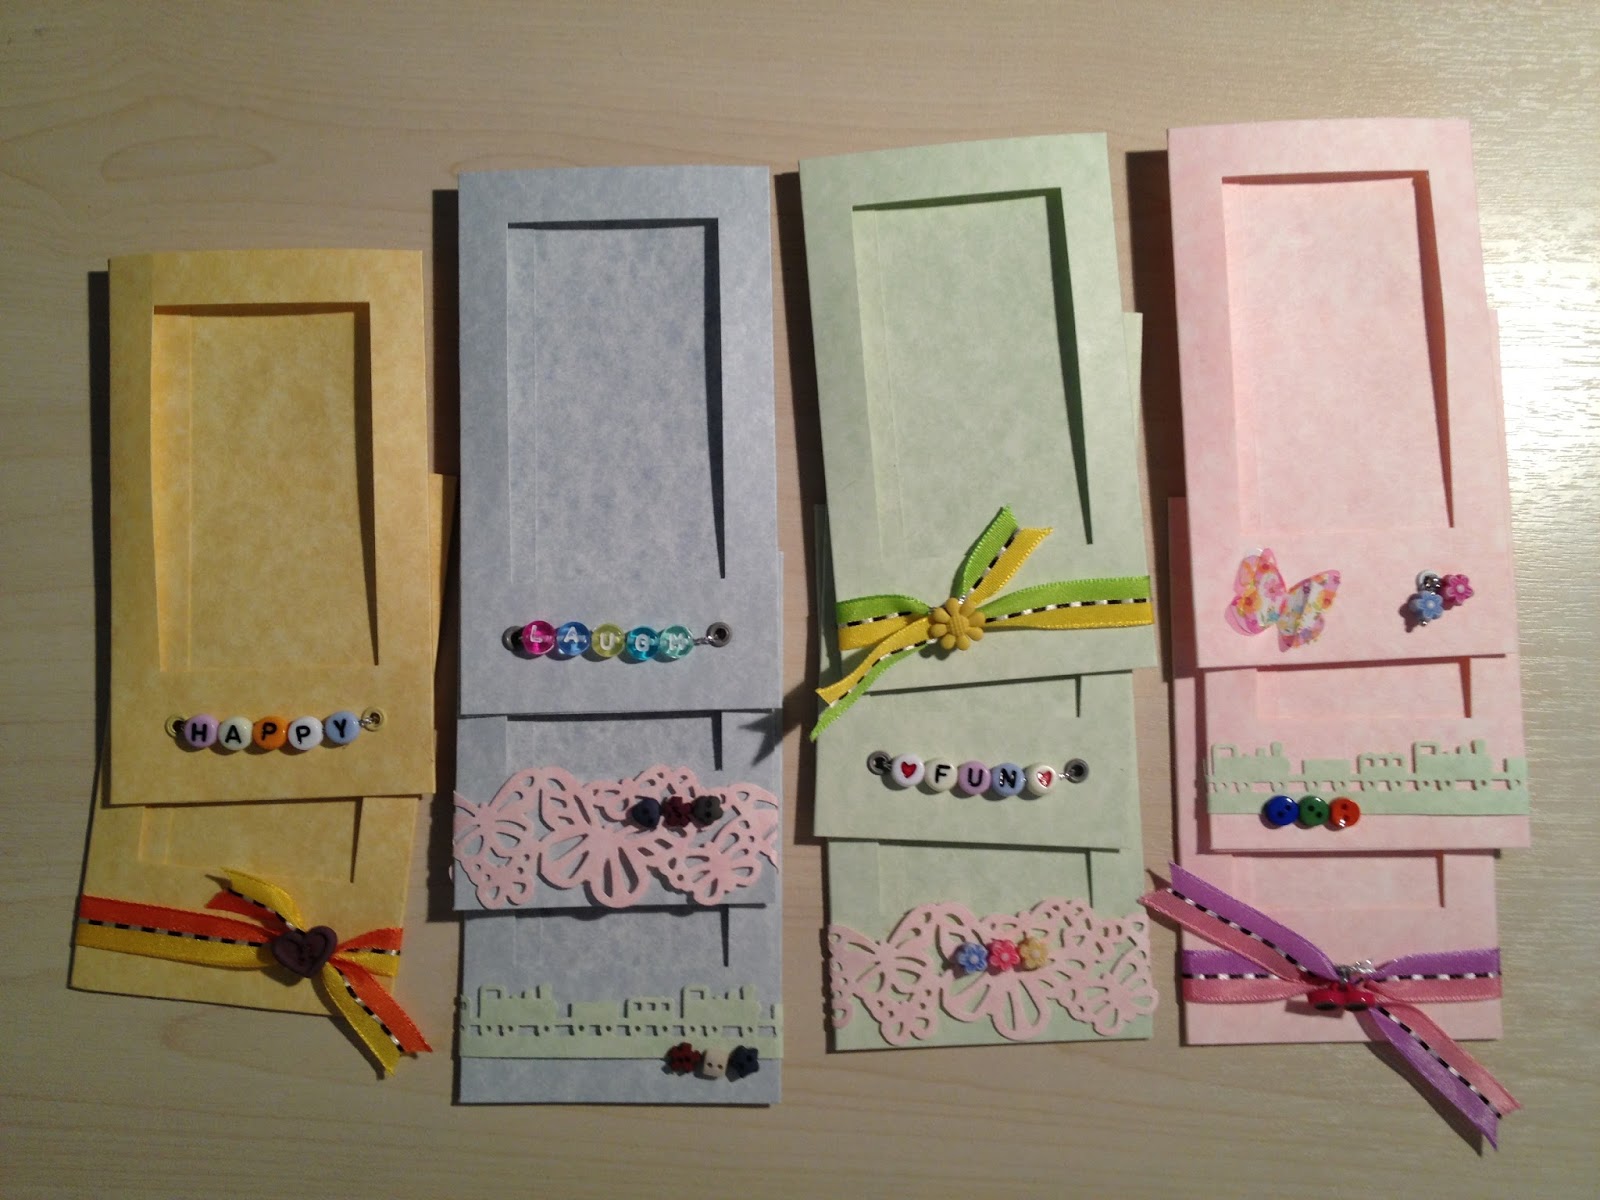
Here are the other designs that I've done by varying the decorations at the bottom of the frames.
No comments:
Post a Comment